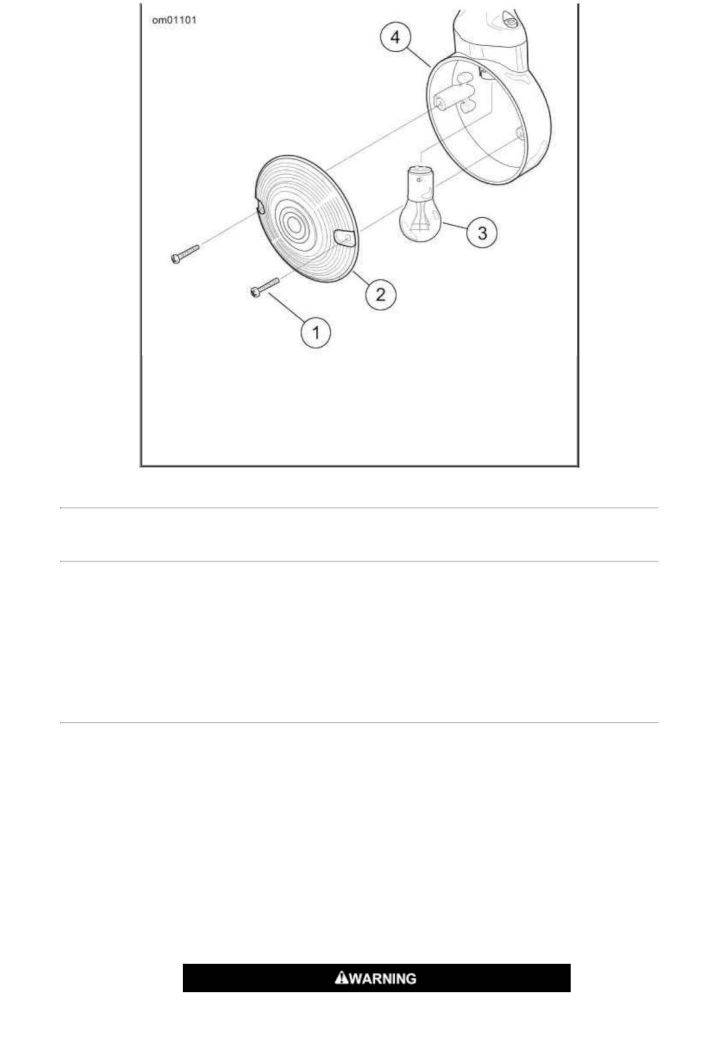
1. Screws (2)
2. Lens
3. Bulb
4. Lamp housing
Turn Signal Lamp Assembly: Flat Lens
Style
Tail Lamp Bulb Replacement
Removal
1. Remove two screws to release tail lamp assembly from chrome base.
2. See Tail Lamp Assembly. Disconnect tail lamp connector (3).
3. Rotate bulb socket (4) 1/4 turn counterclockwise and remove from tail lamp assembly. Pull
bulb from socket.
Installation
1. Coat base of new bulb with ELECTRICAL CONTACT LUBRICANT. Install new bulb in
socket.
2. Insert socket (4) into tail lamp assembly and rotate 1/4 turn clockwise.
3. See Tail Lamp Assembly. Connect tail lamp connector (3).
4. Place tail lamp into position against chrome base.
NOTE:
Over tightening screws can crack the lens.
5. Install two screws. Tighten to 20 24 in lbs (2.3 2.7 Nm).
Be sure that all lights and switches operate properly
before operating motorcycle. Low visibility of rider can